
QuickBooks verifies vendor bank accounts by sending two small micro-deposits, usually under $1, that typically land in the vendor's account within 1 to 3 business days. Entering those exact amounts in QuickBooks finishes the verification, letting you send ACH or Bill Pay transactions. If the vendor is already a payable member of the QuickBooks Business Network, you often skip manual entry entirely and never see their full account number. When deposits don't show up or the status reads "under review," the troubleshooting steps below will get you moving again.
TL;DR:
- Enter both deposit amounts exactly, including cents; a one penny mismatch restarts verification, and the entry window closes shortly after deposits post.
- For vendors already payable members of QuickBooks Business Network, payments bypass manual bank entry and expose only the account’s last four digits.
- If deposits are missing, verify routing and account numbers, wait the full three business days, then restart verification if the window has closed.
- Microdeposits confirm account access, not ownership, so confirm new or high value payment details through a trusted phone number or signed onboarding form.
- If an invited vendor has not completed setup, cancel the pending invitation and enter the bank details manually instead of waiting for them.
Table of Contents
- How to add vendor bank details and verify with micro-deposits
- How Business Network status changes vendor verification
- Fixing "under review," missing deposits, and vendor action required
- Secure verification practices every AP team should follow
- Balancing speed and control in AP verification
- Vopify: real-time payee verification as an AP augment
- FAQ
- Sources
How to add vendor bank details and verify with micro-deposits
Setting up a vendor for ACH or Bill Pay starts in the same place every time: Expenses & Bills, then Vendors, following best practices for bookkeeping for contractors. From there, open the vendor's profile and look for the option to add or edit payment details.
When the vendor isn't already connected through the QuickBooks Business Network, you'll choose "Enter account info manually." This triggers the standard micro-deposit flow rather than instant network verification. QuickBooks asks for the account type (checking or savings), routing number, account number, and the vendor's email address, since some flows send a notification once the deposits post. Double check the admin settings tied to the vendor's profile too: a locked or restricted record can block the deposit request from going out at all.
Once you save the details, QuickBooks or its payment processor sends two small deposits to the vendor's account. These typically clear within 1 to 3 business days, though the exact window depends on the receiving bank. The vendor (or you, if you have access to their statement) checks the account and notes the two amounts, then returns to the same vendor profile to enter them. The verify window stays open for a limited time, so acting within a few days of the deposits posting avoids having to restart the process.
A simple checklist keeps this on track:
- Add the vendor and select manual bank entry.
- Enter account type, routing number, account number, and email.
- Save and wait for the two micro-deposits to post.
- Enter the exact deposit amounts in the vendor's verification field.
- Confirm the status changes to verified before scheduling payment.
Pro Tip: Note the exact deposit amounts in cents, not rounded dollars. A mismatch of even a penny restarts the verification clock.
How Business Network status changes vendor verification
Not every vendor goes through the manual micro-deposit process. If a vendor is already a payable member of the QuickBooks Business Network, you typically never enter their ACH details yourself. Payments route through the network, and you won't see their full account number, only a masked version showing the last four digits.
This changes how you approach new vendors:
- Inviting a vendor to join the network shifts the verification burden to them, since they manage their own banking details on their side.
- Choosing manual entry still makes sense for brand-new vendors you haven't vetted yet, or for high-value payments where you want full control over the data.
- Network membership trades manual data entry for reduced visibility, which is fine for routine vendors but worth questioning for your largest payees.
Fixing "under review," missing deposits, and vendor action required
An "under review" status usually means the deposits are still in transit or the processor is running a standard fraud check. Give it the full window, typically up to three business days, before assuming something's wrong.
If deposits never arrive, work through these steps in order:
- Recheck the routing and account numbers for typos, since a single wrong digit sends the deposit nowhere.
- Wait the full three business days before taking further action, since some banks post deposits more slowly than others.
- Cancel the pending invitation and re-initiate verification if the window has closed.
- Use a paper check as a temporary payment method so the vendor isn't left waiting on an overdue invoice.
A common blocker in community support threads is "vendor action required," where an invited vendor never completes their connection. The fix is usually straightforward: cancel the pending invite, then add the vendor's bank details manually yourself instead of waiting on their response.
Escalate to QuickBooks support, or treat the vendor relationship as higher risk, when deposits fail repeatedly, when you suspect the account details were altered without the vendor's knowledge, or when the payment in question is large enough that a mistake would hurt.
Pro Tip: If a vendor suddenly asks you to update their bank details by email, call them using a phone number you already have on file before changing anything. That single call stops most invoice fraud attempts.
Secure verification practices every AP team should follow
Micro-deposits confirm that someone has access to an account. They don't confirm that the person who gave you the account number actually owns it, a distinction Stripe's own explainer on micro-deposit verification makes directly. For any vendor relationship that involves real money, pair the deposit check with an out-of-band confirmation: a phone call to a number you already trust, or a signed vendor onboarding form.
A few habits make this manageable at scale:
- Keep a locked, verified master vendor record and restrict who can edit bank details on it.
- Require two-person approval before activating a new high-value vendor for ACH payment.
- For bulk vendor onboarding or cross-border payees, batch or programmatic verification cuts down on the manual errors that cause misdirected payments.
One mismatched digit in a routing or account number is often all it takes to send a payment to the wrong account, which is why pairing micro-deposits with a secondary check matters more as payment volume grows.
Balancing speed and control in AP verification
Micro-deposits work fine for routine, low-value vendors you already trust. For new vendors, large payments, or anything that smells slightly off, slow down and verify through a second channel before you pay.
— David
Vopify: real-time payee verification as an AP augment
When QuickBooks' micro-deposit wait feels slow for bulk onboarding or cross-border payees, we built Vopify to close that gap. We match a payee's name against their IBAN in real time, covering SEPA countries, India, Indonesia, South Korea, and Alipay accounts in China, so you know an account belongs to the right person before you schedule a single payment.
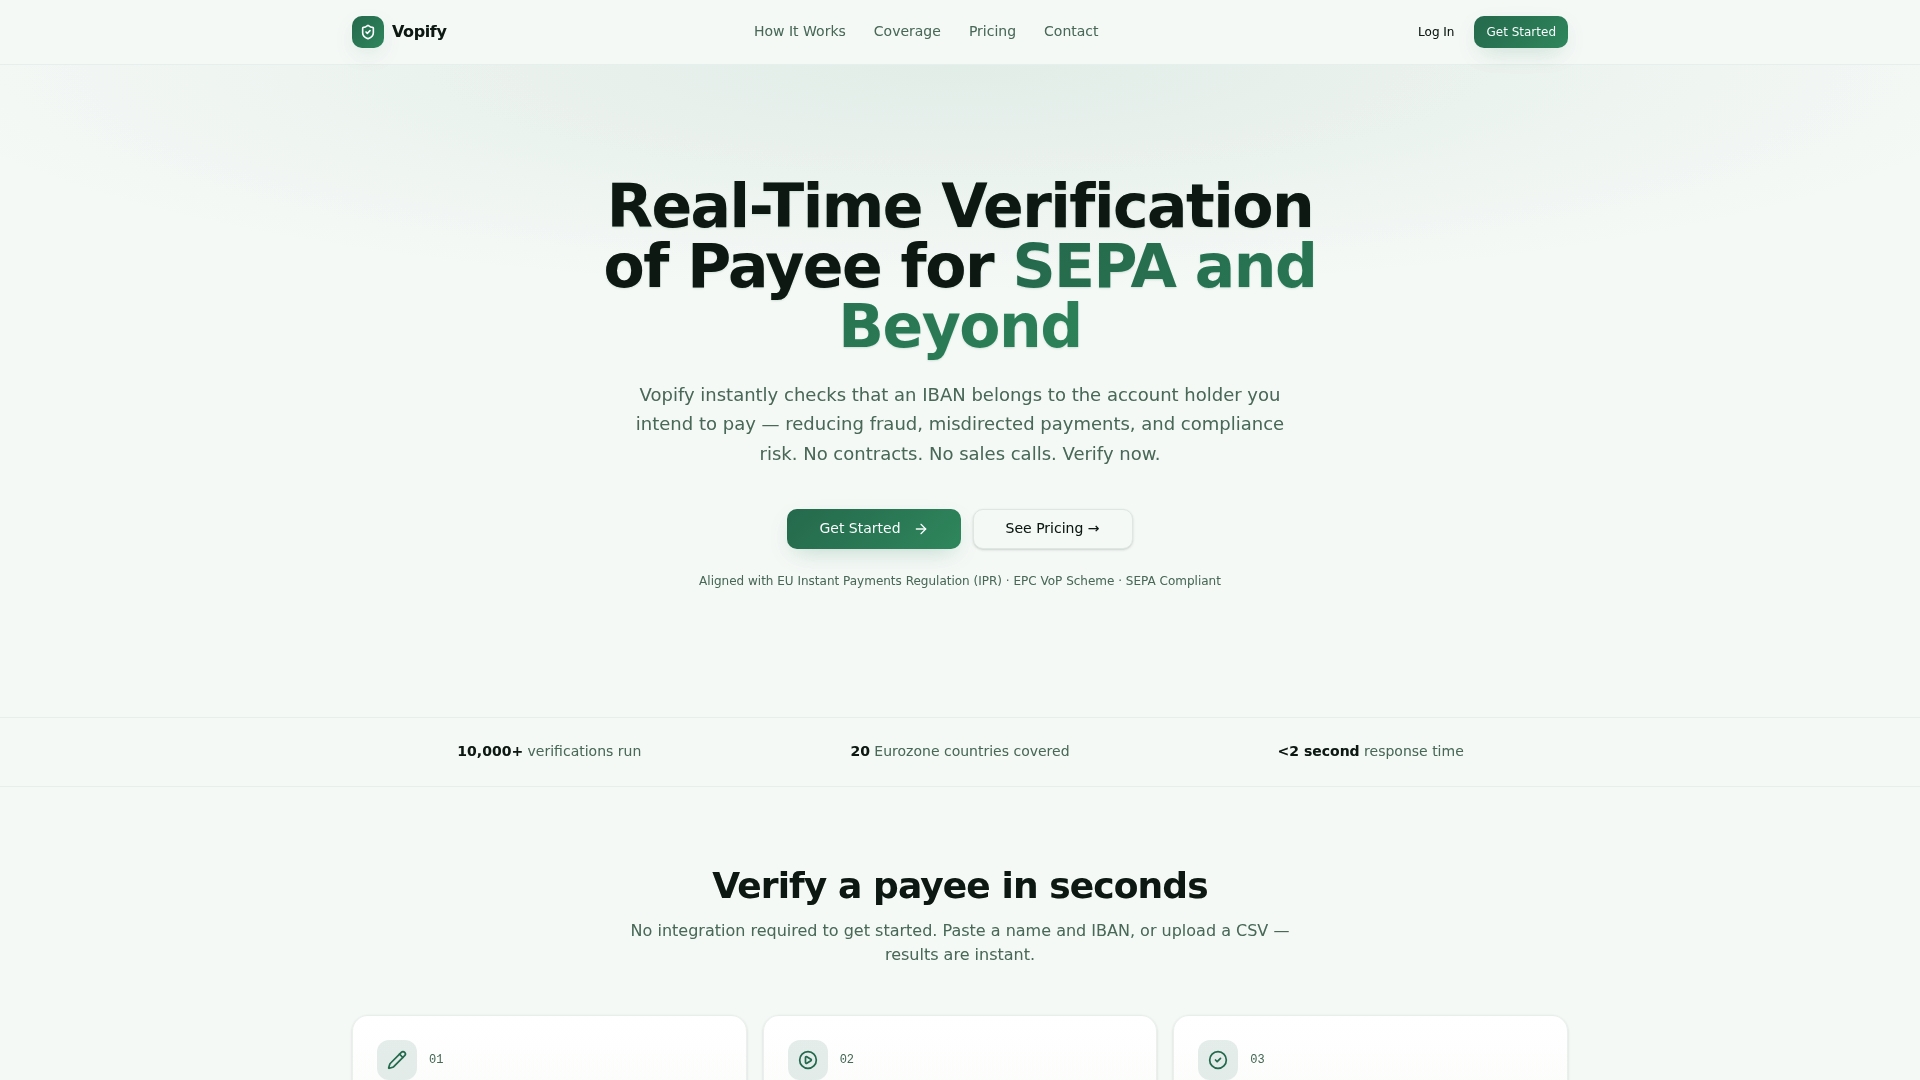
We charge $0.70 to $1.00 per single verification, or a flat monthly plan starting at $240 for Starter, $750 for Growth, or $2,000 for Scale, depending on your volume. For AP teams onboarding many suppliers at once, our bulk IBAN verification tool runs an entire CSV of vendors through the same check in minutes instead of days. Developers can connect verification directly into onboarding workflows through our MCP integration, with full API access on the roadmap for high-volume use.
Consider adding us to your workflow when you're onboarding vendors in bulk, verifying cross-border payees QuickBooks doesn't check natively, or clearing a high-value ACH payment where waiting three days for micro-deposits isn't worth the risk. Run a single lookup on your next new vendor and see how it fits alongside your existing verification steps.

FAQ
How do you verify a bank account in QuickBooks?
QuickBooks sends two small micro-deposits to the vendor's bank account, which typically arrive within one to three business days. You then enter those exact amounts back in QuickBooks to complete verification.
What is TSheets called now?
TSheets is now called QuickBooks Time. It's Intuit's time-tracking product, separate from the vendor bank verification features covered here, and the rename doesn't affect how ACH or Bill Pay verification works.
Can you pay vendors via ACH in QuickBooks?
Yes, QuickBooks Bill Pay supports ACH payments to vendors once their bank account is verified, either through micro-deposits or through payable network membership. Verified vendors can then receive electronic payments directly instead of paper checks.
Is there a way to verify a bank account outside of micro-deposits?
Yes, real-time verification tools match an account holder's name against their IBAN or account number instantly instead of waiting on deposits to clear. We offer this at Vopify, which confirms a payee's identity in under two seconds rather than the one to three days micro-deposits usually take.